· tutorials · 4 min read
Mastering the Test Runner in Automize - A Comprehensive Guide
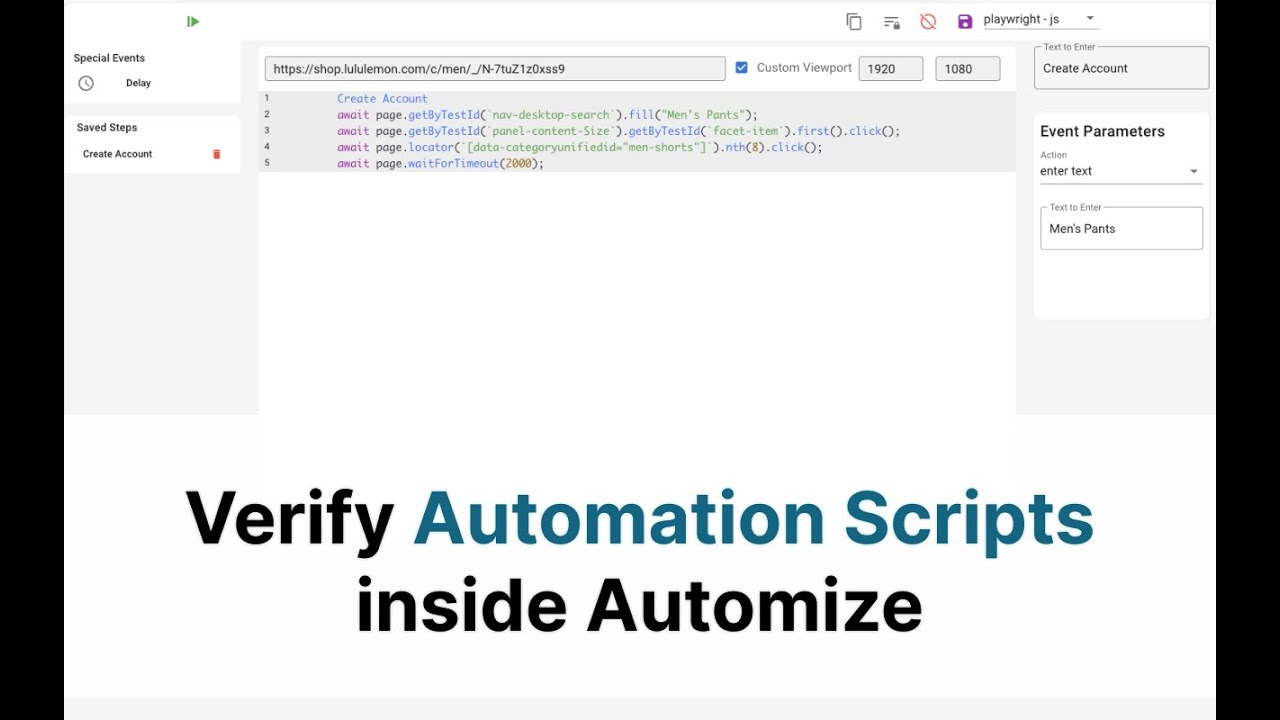
Automize is a powerful tool that simplifies the process of creating and running automated tests. In this guide, we will delve into the functionalities of the Test Runner, providing you with step-by-step instructions on how to create tests effectively. Whether you are a beginner or an experienced user, this article aims to enhance your understanding of Automize's capabilities.
This blog was generated from a tutorial video you can watch here
Setting Up Your Test Environment
Before diving into test creation, you need to have your test environment set up correctly. We will start with a simple to-do list application, which is an ideal starting point for writing tests. This application allows you to add, check, and delete tasks, making it perfect for demonstrating the Test Runner’s functionality.
Accessing the Automize Interface
To begin, open the Automize interface by pressing F12. This will bring up the Automize dashboard, where you can start creating your tests.
Creating a Basic Test
To write a basic test, follow these steps:
- Click on the input field of the to-do list.
- Double-click to select the input field.
- Enter your test text, such as “Feed the dog.”
- Press the plus button to create a test.
- Add the check button action.
Once you’ve set this up, you can run your test by pressing the play button. The test should successfully create your to-do item.
Modifying Test Parameters
Automize allows you to modify your tests easily. You can change the text input or alter the event type. For instance, you might want to switch the task from “Feed the dog” to “Feed the cat.” This flexibility ensures that your tests can adapt to different scenarios.
Testing Across Different Viewports
Another valuable feature of Automize is the ability to customize the viewport for testing. If you want to test how your application behaves on mobile, you can set specific dimensions like 600 by 800 pixels. This allows you to ensure that your application is responsive and user-friendly across devices.
Grouping and Managing Tests
As you create multiple tests, it’s essential to manage them efficiently. Automize allows you to group related tests together. For example, if you have several tests for the same functionality, you can save them under a single name, like “Create a To-Do.” This organization helps you keep track of your tests and makes it easier to run them as a group.
Running Grouped Tests
When you run a grouped test, all the individual actions will execute in sequence. If you update one of the actions, such as changing “Feed the dog” to “Feed the cat,” all associated tests will reflect this change. This feature is particularly useful for maintaining consistency across your tests.
Advanced Testing Techniques
Once you are comfortable with basic test creation and management, you can explore advanced techniques. Automize allows you to embed events within events, giving you the ability to create complex testing scenarios. While this feature may not be necessary for all users, it can be beneficial for more intricate applications.
Removing Items Through Testing
Let’s take a closer look at removing items from your to-do list using the Test Runner. To do this, you will need to:
- Select the first to-do item.
- Identify the corresponding remove button.
- Add the remove action to your test script.
By running this test, you can create a to-do item and then successfully remove it, verifying that your application functions as intended.
Handling Test Failures
In testing, failures can occur, and it’s crucial to know how to handle them. For instance, if you attempt to delete an item that has already been cleared, this will result in an error. Automize will notify you of this failure, allowing you to troubleshoot the issue effectively.
Identifying Errors in Your Test Scripts
When a test fails, you can pause or stop the execution. This feature allows you to analyze where the test went wrong. After identifying the error, you can make necessary adjustments to your script and revalidate it. For example, you might need to reorder actions to ensure they execute correctly.
Additional Features of Automize
Beyond basic testing functionalities, Automize offers a range of additional features to enhance your testing experience:
- Delay events for transitions.
- Language switching for localization.
- Feedback options for continuous improvement.
These features contribute to making Automize a robust tool for automated testing, catering to various user needs.
Conclusion
In conclusion, mastering the Test Runner in Automize can significantly improve your testing processes. From creating basic tests to handling failures and utilizing advanced features, Automize provides a comprehensive suite of tools for developers and testers alike. Remember, testing is an iterative process, and continuous feedback is essential for improvement. Don’t hesitate to reach out with suggestions or questions as you explore the capabilities of Automize.
Getting Involved
If you have feedback, feature ideas, or bugs to report, Automize is always open to suggestions. Engaging with the community can lead to improvements that benefit all users. Your input is valuable, so don’t hesitate to share your thoughts.