· tutorials · 3 min read
Exploring the Network Tab in Automize - A Deep Dive
Welcome back to our series on Automize! In this second part, we will delve into the Network tab of Automize and explore how to effectively use it for your web development needs.
This blog was generated from a tutorial video you can watch here
Accessing Automize
To access Automize, simply right-click anywhere on a webpage, select “Inspect Element,” and click on the Automize plugin icon. Once you are in the Automize interface, navigate to the Network tab—this is where the magic happens.
Understanding Network Events
Initially, you might find that there are no network events recorded. To demonstrate how the Network tab works, let’s consider a simple test website I’ve created. It includes a header value text input that allows users to request a specific number of colors.
When a network request is made to fetch these colors, it appears both in the Automize tab and the conventional network tab of your browser’s developer tools.
For example, if you request five colors, you will receive an echo of the request header, which can be as simple as stating, “I love Automize.” This message is returned in the response header along with an additional message, “Hello from the server,” and a Boolean value indicating access rights (in our case, ‘no access’).
Making a Request
When you make a request, you include two key pieces of information: the custom header (e.g., “I love Automize”) and the payload containing the color count. On receiving the response, you’ll find that it contains both the colors requested and the header details from the request.
Testing with Unsupported Languages
It’s essential to note that if you’re working with unsupported programming languages, the Automize Network tab may not display your requests effectively. For instance, if you select CSS, it won’t record any network events, yielding a message that the language is unsupported. You might find better results using regular JavaScript or, ideally, Playwright—our recommended approach for ease of use.
Modifying Requests and Responses
One of the standout features of Automize is its capability to modify requests and responses seamlessly. For instance, you can change the response to return a different set of colors or adjust the delay before the response is received.
Forcing Responses
A typical workflow might involve forcing a response. For instance, after making a request for five colors, you can choose to adjust that request to only return two specific colors. You also have control to delay the response using milliseconds, allowing for a more realistic simulation of network conditions.
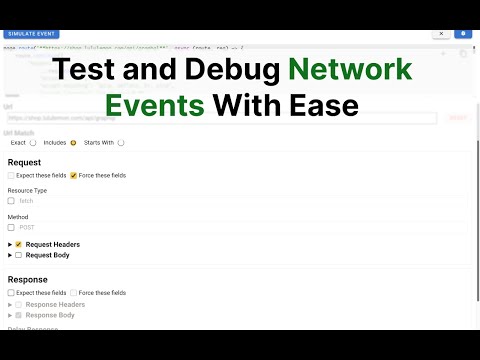
In the simulation process, you might need to ensure the request matches the correct type (for instance, a POST request) to avoid unintended delays.
Simulating Events
Automize allows you to simulate network requests to verify that your modifications work as intended before implementing them in your scripts. This feature adds great convenience, enabling you to confirm functionality directly within your browser.
You can override headers, modify values, and even nullify certain request headers entirely. For example, setting a request header to null ensures that it won’t be included in the outgoing request, effectively allowing you to clear unwanted data.
Final Thoughts
In this post, we’ve only scratched the surface of what you can do with the Network tab in Automize. From intercepting requests and modifying headers to simulating real-world scenarios, Automize offers robust features that help developers fine-tune their applications.
Join us in the next part of our series where we’ll explore more advanced features of Automize. If you have any questions or ideas for future videos, don’t hesitate to drop them in the comments below. Happy auto