· tutorials · 3 min read
Streamline Your Testing with Automize - A Deep Dive into the Test Runner
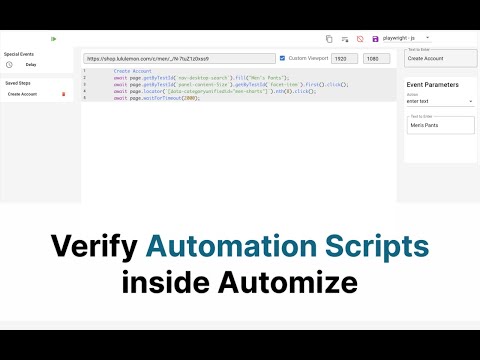
Hello, everyone! Welcome back to part three of our series on using Automize. Today, we’re focusing on one of the most powerful features of Automize—the Test Runner.
This blog was generated from a tutorial video you can watch here
Creating a Test for Your To-Do List
To get started, we have a simple to-do list application on our screen. Let’s open Automize by hitting F12, and dive right into writing our first test.
Before we start, let’s walk through the basic functionality of our to-do list. You can add tasks, such as “Feed the dog,” check them off, or delete them. Now, let’s write a test to automate this functionality.
- Select the Input Field: Click on the input field to enter your text for the task.
- Creating the Test: Once we’ve entered our task, we’ll push the plus button to create a new test. This lays the groundwork for our automation.
- Checking the Task: Next, we’ll simulate clicking the check button. This action is crucial as it reflects the user marking the task as done.
With these steps, we’ve set up a basic test. You can run this by pressing play to see if it successfully creates the to-do entry.
Customizing Your Tests
Automize allows you to modify tests easily. For instance, if you want to change the To-Do task from “Feed the dog” to “Feed the cat,” you simply edit the test accordingly.
Moreover, you can also set up a custom viewport to simulate mobile testing! By inputting a size like 600x800, you can ensure that your application performs well across different devices.
To keep your tests organized, Automize allows you to group them together. By saving a routine under a name such as “Create a Task,” you can manage multiple similar tests without overcrowding your workspace.
Handling Actions and Errors
Now, let’s move on to removing a to-do item. This is where Pro Mode comes in handy. By selecting specific elements, like the first to-do item, we can automate the removal process.
However, testing isn’t just about success; it’s essential to anticipate failures too. Let’s take a scenario where you execute a test that tries to delete a to-do after all tasks have been cleared. Running this test will reveal an error since it cannot find the initial to-do to delete.
This feature is critical for debugging. Automize clearly signals an error, allowing you to revisit and adjust your test script accordingly.
Features and Feedback
Before we wrap up, let’s highlight some extra functionalities of Automize. You can add delays for transitions in your tests, change the user interface language, and much more!
Remember that Automize is a work in progress, and your feedback is invaluable. If you have suggestions for features or have encountered bugs, please feel free to reach out via email.
We’re committed to improving Automize and your insights help us make it even better.
Conclusion
In conclusion, the Test Runner in Automize empowers you to automate your application’s tests efficiently and accurately. From creating and modifying tests to identifying errors, Automize has you covered. We hope you enjoy using it as much as we do!
Stay tuned for the next part of our series where we will explore more exciting features of Au